I decided to buy a 3D printer because I have some project ideas which I 3D printer might help with.
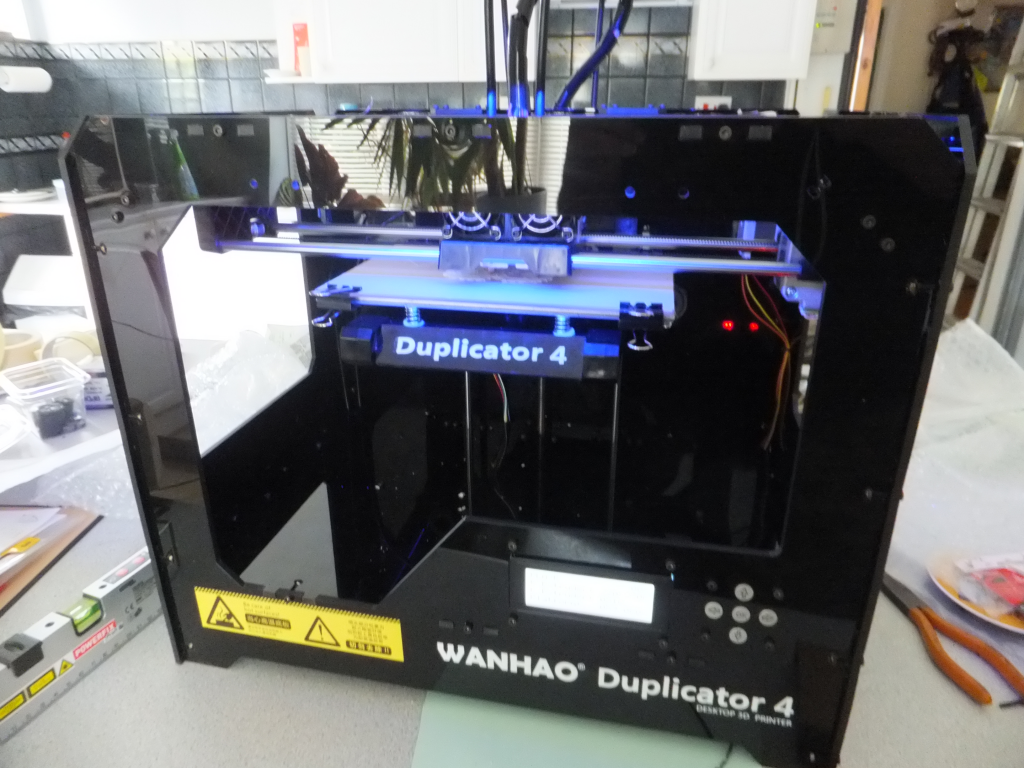
I went for a Wanhao Duplicator 4X as it seemed fairly reasonable and had some OK reviews. It has 2 extruders, which might mean you can print objects in two different colours and/or materials – I will have to test. It comes mostly pre-assembled; you have to fit the print head to the shuttle, a simple matter of two screws, fit the two reel holders on the back and fit the two fillament guides.
It also comes with 2 rolls of fillament – one ABS, the other PLA.
The main frame of the printer is made from 5mm perspex. It also comes with some side panels and a hood which you have to assemble. These are to stabilise the temperature within the printing area.
I had an issue with the way everything was packed. The two reels of fillament were stored in two boxes placed inside the printer below the print bed, and the print bed had been lowered right down to hold them in place. It took a while to work out how to get those out of the printer without breaking anything. I didn't want to turn on the printer until I had taken all the packaging out, but in the end I had no choice. So I plugged it in and turned it on and found a Jog option within the menu which allowed me to raise the print bed and get the fillament reels out. This should have been in the instructions.
It also comes with a class plate to place over the heated print bed, and to cover the glass plate with some special heat resistant tape. The glass plate is held on the print bed with 4 supplied bulldog clips.
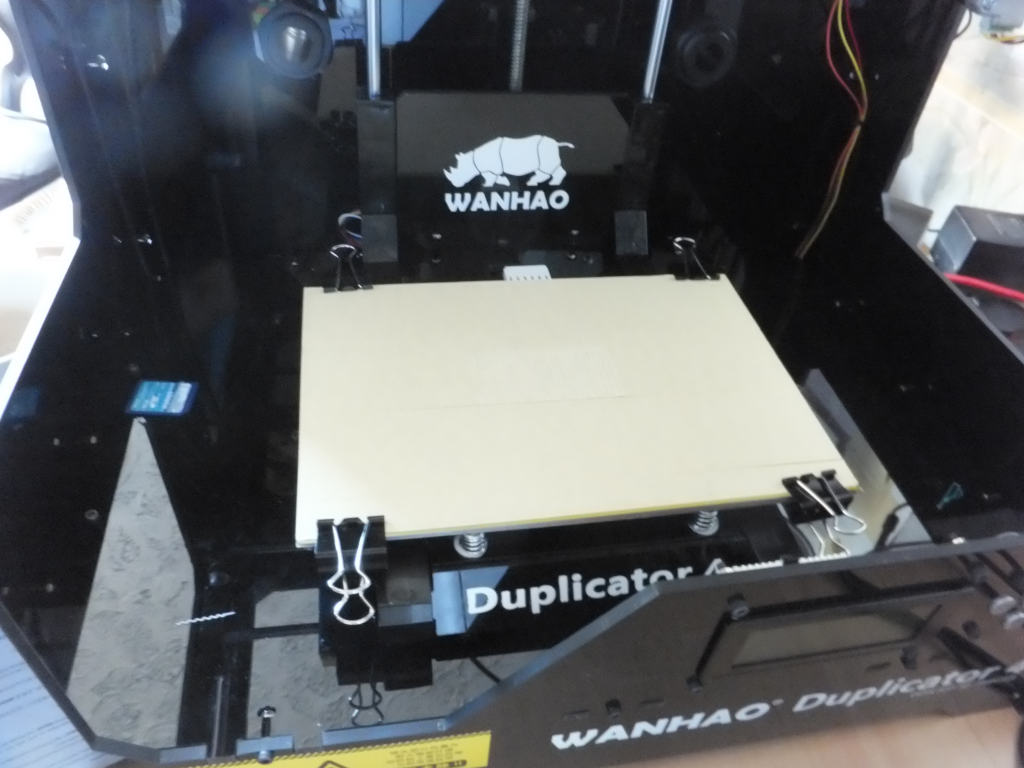
One issue I had with this is that when the printing bed was raised up near the print head, and the print head moved to its home position (back, right), it caught the bulldog clip and pushed it off. Luckily it didn't damage the print head.
After putting the printer together, the first task is to adjust the print bead so that it is evenly spaced from the print head across the whole area. It does this by moving the print head to various points on the print bed and you have to adjust some screws under the bed to raise or lower it – You're supposed to just be able to slide a piece of A4 paper between the print nozzel and the bed. One minor issue I had was that when it moved the print head to the front of the print bed, the print head was positioned too far forward and was not over the print bed – so I had to do it by eye.
The printer also comes with a 2GB SD card which contains a couple of sample prints. Printing the sample using the PLA filament (white) worked fine, first time, but printing the sample using the ABS fillament (green) didn't quite work – They are both supposed to be butterflys.

When printing the ABS sample, it seemed to be using the same temperature (220 for the head, 110 for the bed) as it did for the PLA fillament. Reading some posts about other people's experience with printing in these different materials, I am assuming the failure is down to the wrong temperatures being defined for the ABS sample print. So I will have to experiment with that.
Also, one of these is quite useful for getting the printed model off of the print bed, because they stick pretty well:-

It's some sort of plastic knife or slicer – I don't really know. I happened to have one in the draw under the sink. It's been in the draw for ages, but I don't remember where it came from or how it got there – Probably fate.
After printing is complete it's a good idea to let the whole thing cool down for a bit because the model is still pretty flexible just after printing and trying to pry it from the print bed can mishappen it.
So far, so good.
Recent Comments