The next thing I thought I’d create was a box for the circuit board of the 3x3x3 LED cube. Seems like it should be easy (famous last words). Note to the people on YouTube who make Wings3D seem so simple and easy and can create a car in 20 minutes – I’m hating you right now.
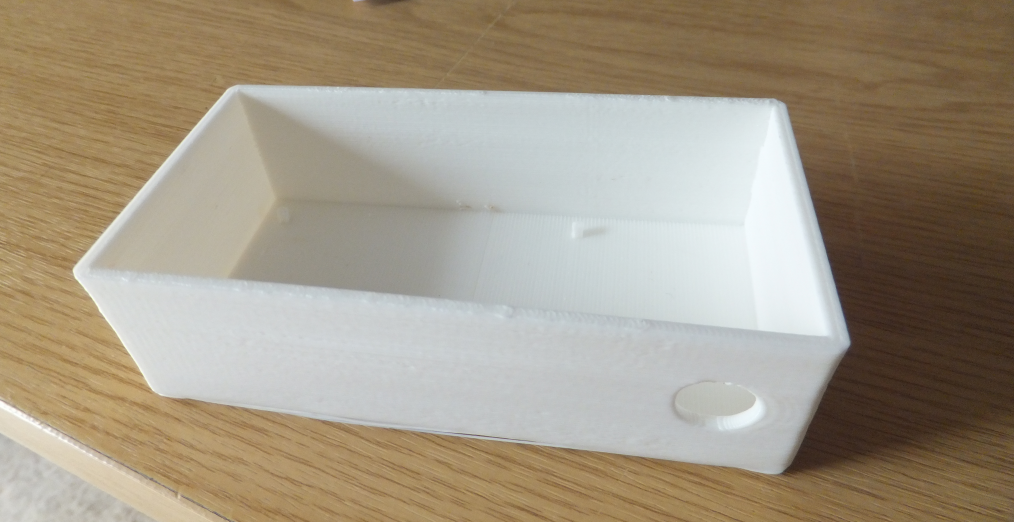
After a few false starts, I finally managed to produce a box, and I even managed to include a hole in the side for a panel mount socket for powering the cube. I had originally planned to make a lid as well, but since it took me about 3 hours just to make the box, I decided to give the lid a miss.
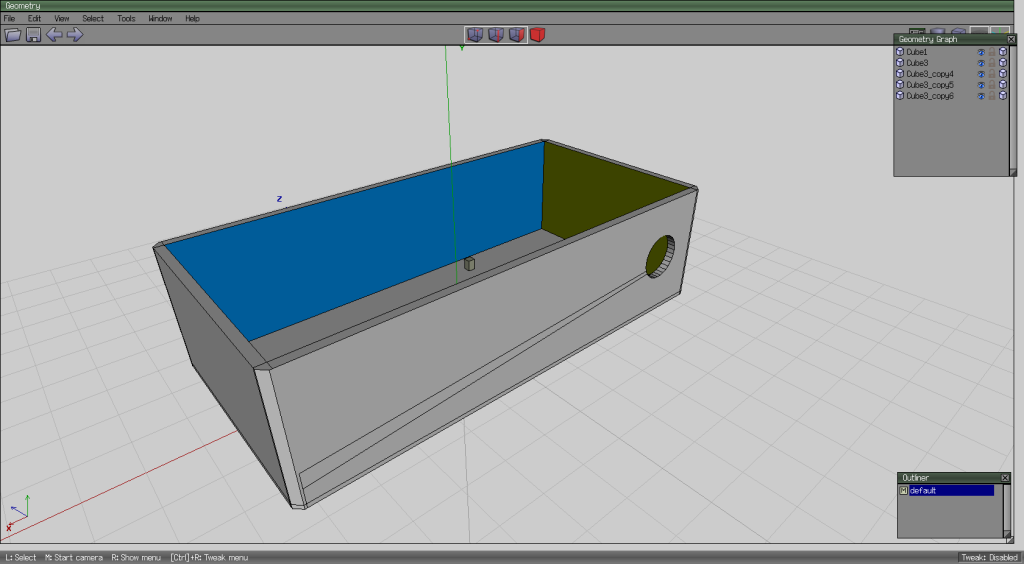
I also included some small pillars on the bottom that the circuit board can rest on. There’s a few extraneous edges in my model that I couldn’t get rid of – still a lot to learn with WIngs3D.
Printing the box took about 3 hours.
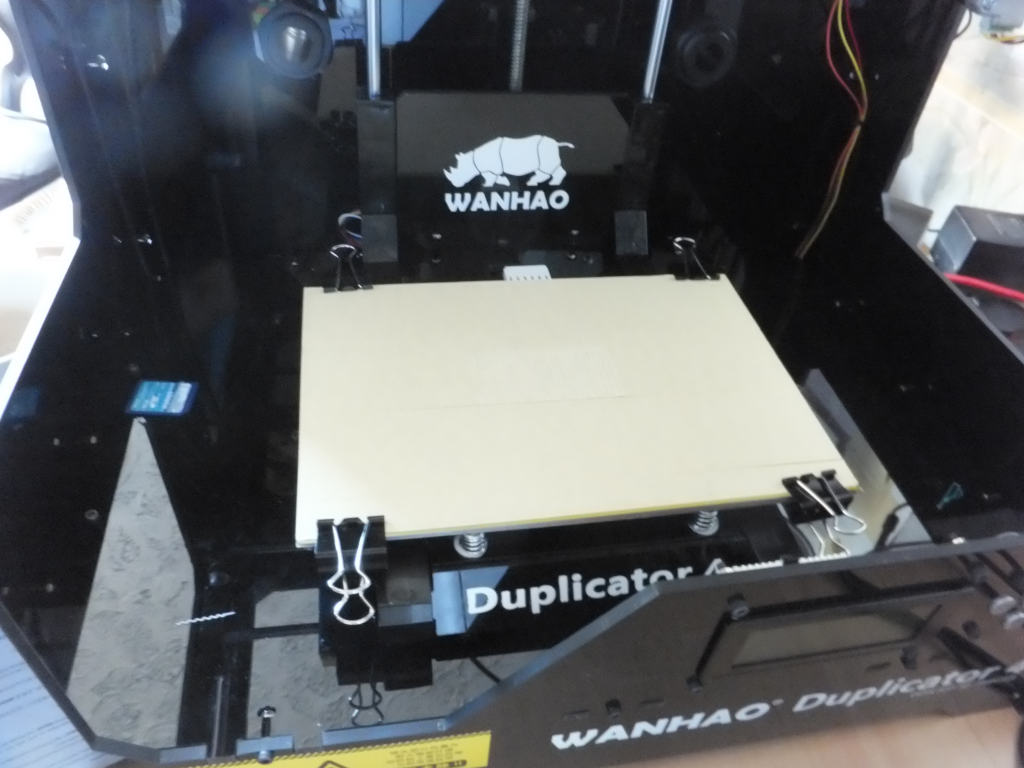
One thing that was concerning, the slicing program – ReplicatorG/Skeinforge (50) – produced a tool path the shook the printer a great deal. As it was printing the walls of the box, which are about 2mm thick, it did one layer length ways, and then the next layer crossways which creates a stronger bond between the layers. But when doing the printing crossways, because the travel was so short there was a lot of vibration as the print head went back and forth quickly. I think this vibration caused the glass plate on the print bed (which is held in place with some bulldog clips) to shift which meant the walls ended up being a bit wavy:-
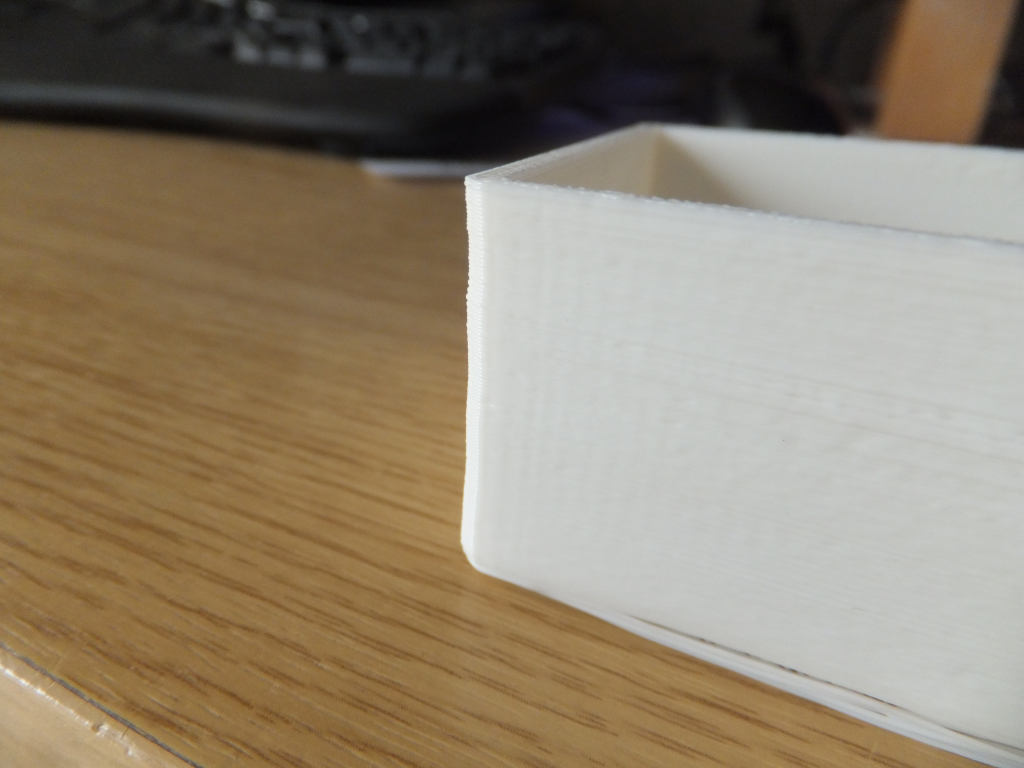
So I need to work out how to get the slicing program to produce a better tool path. Maybe slow the printhead down when doing short distances – don’t know if that’s possible.
Next thing was how to hold the board with the LEDs on to the box. If I’d thought about it earlier, I could have incorporated these into the box directly. I created some little brackets which fit over the wall of the box, and then hold the LED board.
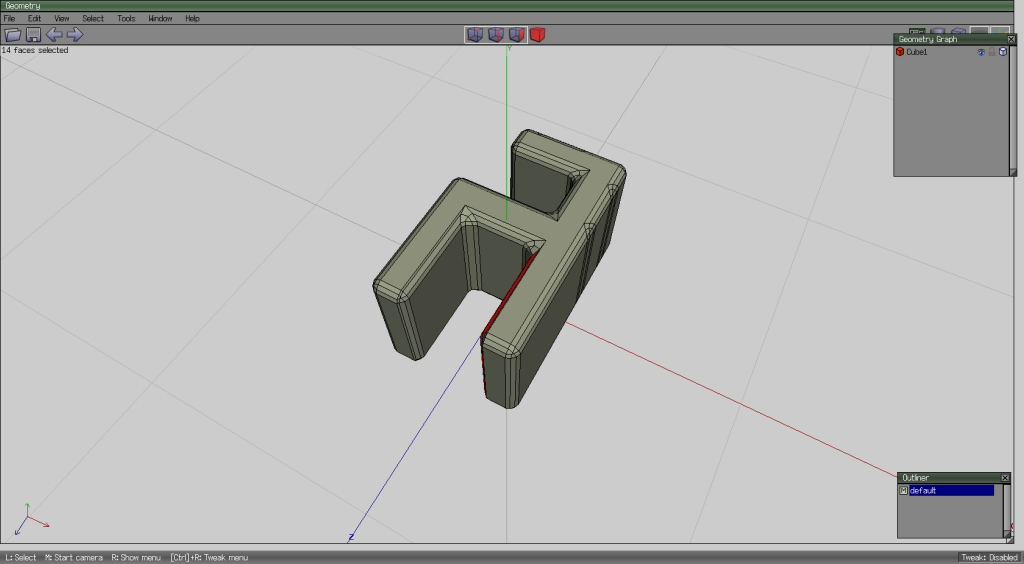
PCB Clip
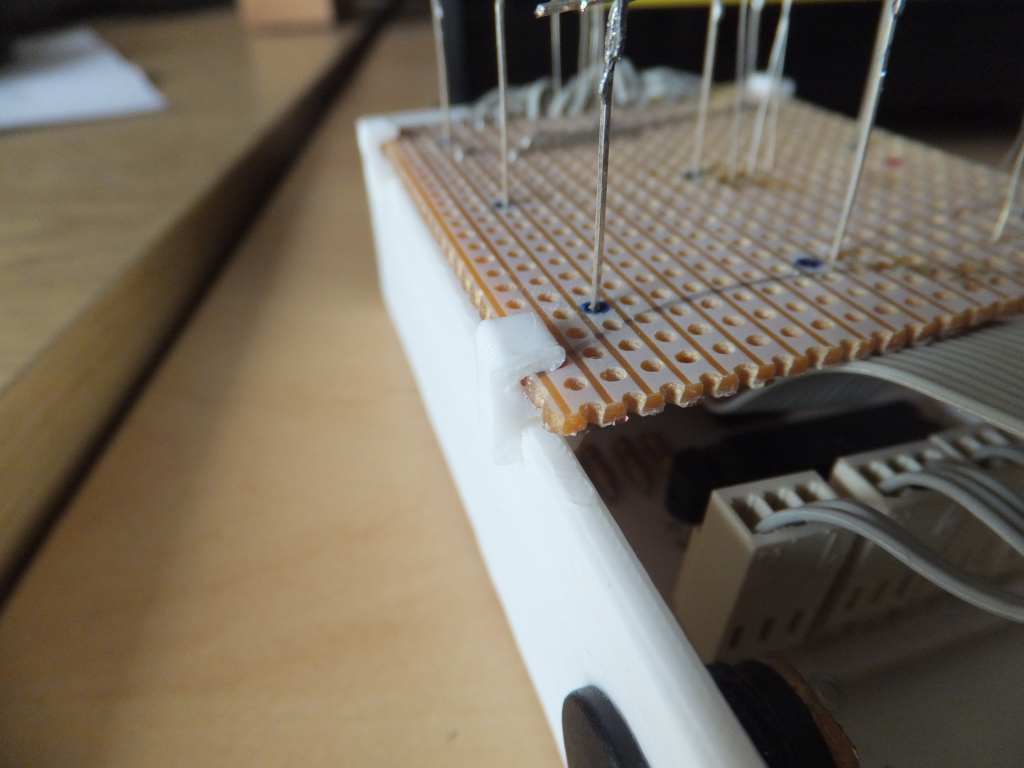
PCB Clip
I printed 4 of these. They only took a couple of minutes each.
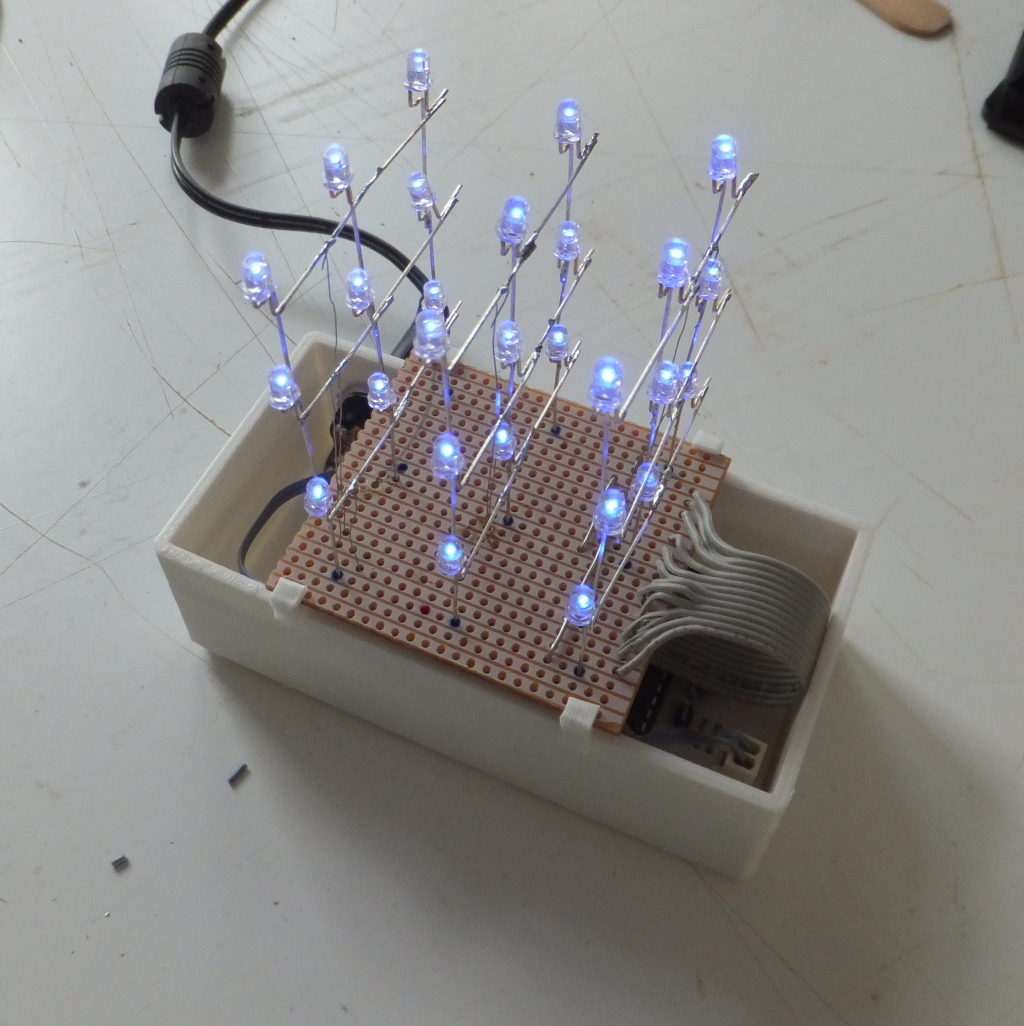
Final result.


Recent Comments