I was watching some videos about making PCBs using solder paste and ovens to reflow the solder, and I wondered how easy it would be to remove components in a similar fashion. What to use as the heat source? A hot-air gun/paint stripper.
I had an old compact flash card reader that's been sitting in a draw for years, so I thought I'd use that as my first victim/experiment.
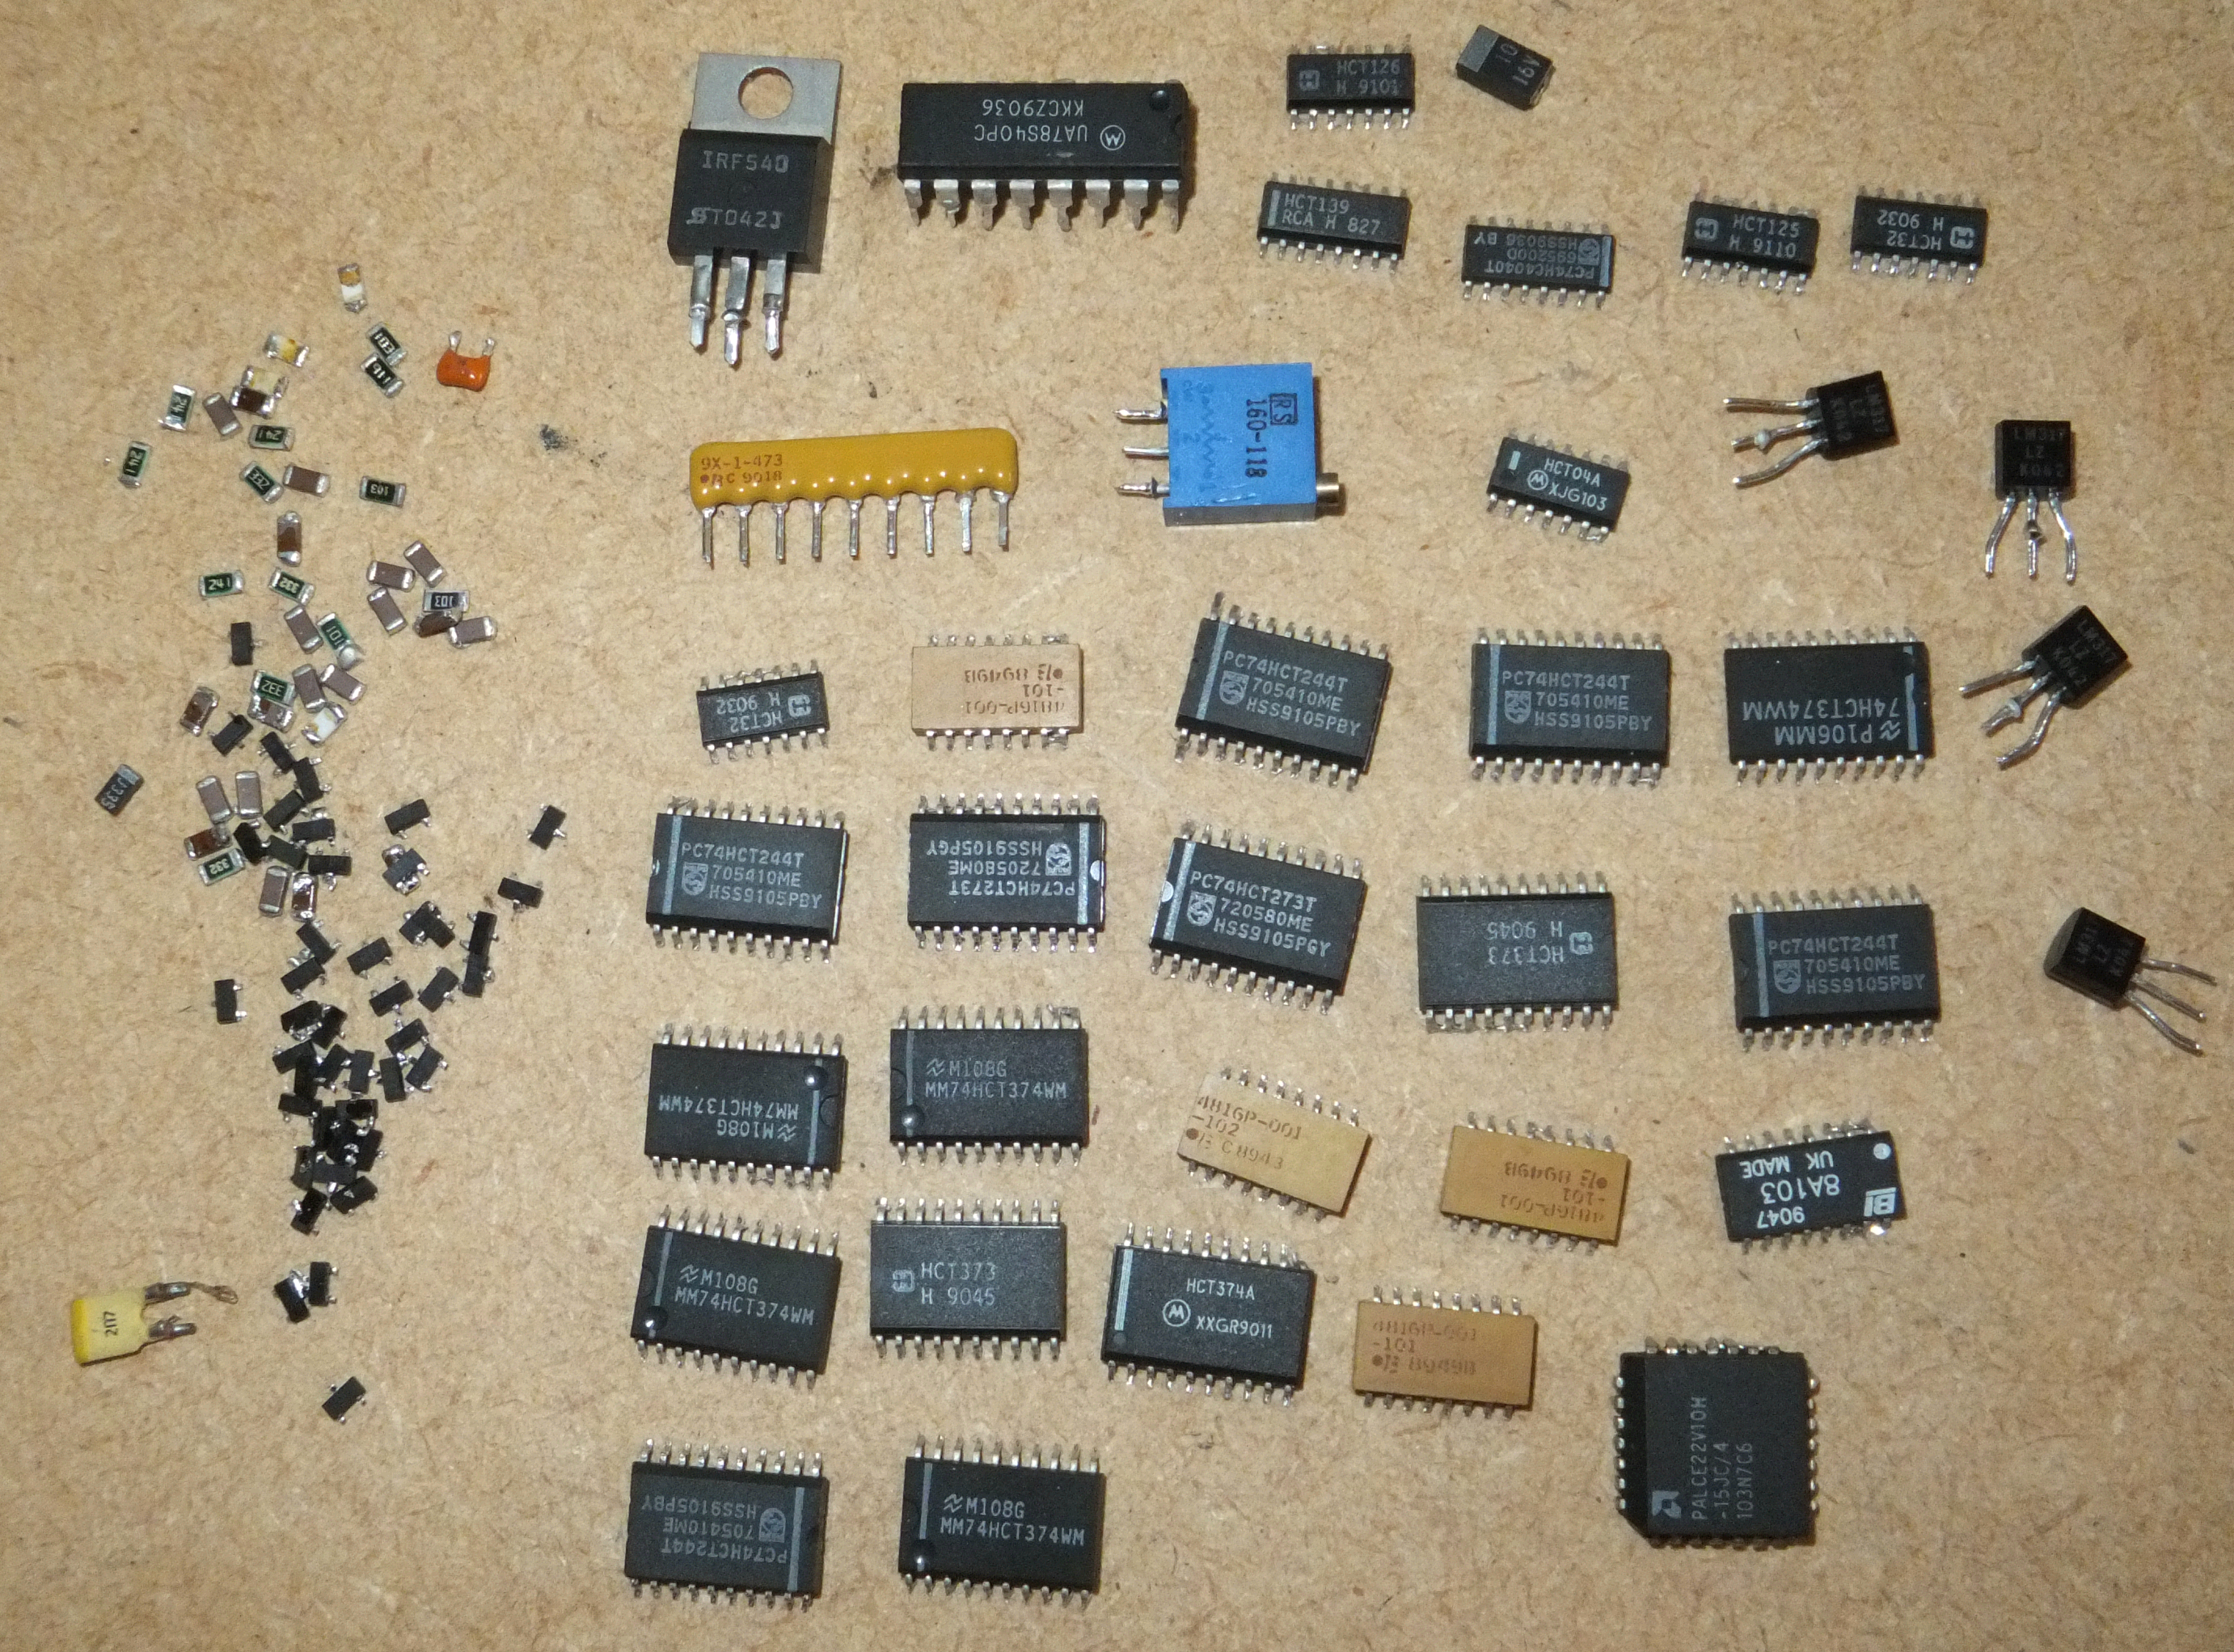
20 minutes later I have a bunch of random components, which may or may not be of some use at some point (Edit: I found a use for some of the SMD resistors in the other word clock I'm making), but hey – it worked:-

Voila; a bunch of random components. There's some octal flip-flops, resistor arrays, SMD resistors, through-hole transistors, smd transistors and diodes, a couple of large capacitors and other bits and pieces.
The heat gun I have has two settings; I used the low setting, which is about 350 degrees C. The high setting is about 600 degrees.
I clamped the board upright in a vice and found that the larger SMD components just fell off as the solder melted, whereas the smaller components I had to pick off with some tweezers.
This particular board is a 4 layer board and I found that the through hole components took a minute or so of heating before the solder melted all the way through enough for me to pull the components off. I also tried this on an old PS/2 ball mouse PCB, which was just a double sided board, and the through-hole components on that came out much easier.
Only disappointing thing is that SMD capacitors don't have any markings on them, so you don't know what their capacitance is. How easy is it to make a capacitance meter?

Recent Comments