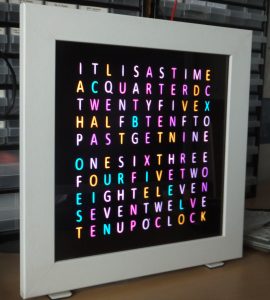
First thing I decided to have a go at designing and printing were some legs for my Word Clock.
I had already come across Wings3D when I downloaded KiCad for creating schemas and PCB layouts. I've never used Wings3D for designing anything, so this is going to be a learning excercise.
I worked out the design and measurements for the leg and went to design it in Wings3D. One thing I found alien was that WIngs3D has no concept of millimeters or inches or any term of measure, it just has units. The actual size of the object is just how you, or an external program, interprets those units. Not really sure what I was doing, I decided that 1 unit would be one centimeter – which actually turned out to be a stroke of genius later on.
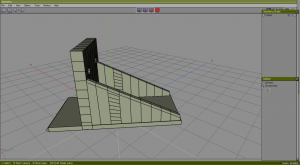
There are lots of extraneous verticies and edges in my model where I was playing around with Wings3D. I didn't really understand the principle extruding edges and faces out from an object, so this model is made from 4 shapes; one along the bottom, the upright and the two triangular supports. I also couldn't work out how to combine the objects in to one object; for example, the upright extends in to the bottom piece, I think this affected the way the final object was printed because you can see where the printer tried to print the faces that were imbedded within another object.
After completing my design, I exported the model to an stl file, and then imported that in to RelicatorG.
(Note regarding ReplicatorG: when I installed it, it needs to point to a Pyton interpreter. I had installed the latest Python 3.4, but I couldn't get ReplicatorG to recognise it, so I installed the earlier Python 2.6, which solved that problem.)
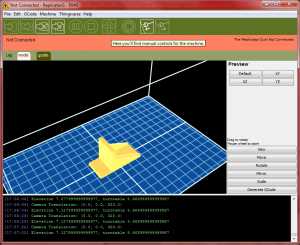
Once the file was loaded, the model appeared really tiny (smaller than in the image above). Doing some Googling, I discovered that the square grid in ReplicatorG represent centimeters, and the units used in Wings3D have been interpreted as millimeters; so I had designed my model as 5.4 units long (thinking 5.4 centimeters), and ReplicatorG has used that as millimeters – so my model was 5.4 millimeters long. A simple fix was to use the scale function to make the model 10 times bigger – and viola.
I didn't bother trying to play with the ReplicatorG settings and just left everything at the default and went straigt to printing the model.
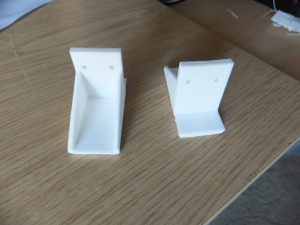
It took an hour to print each leg. The first leg printed out no problem, but half way through the first attempt at the second leg ReplicatorG seemed to freeze and it stopped printing. So I had to kill ReplicatorG, cancel the print on the printer and start again. It printed fine on the second attempt.
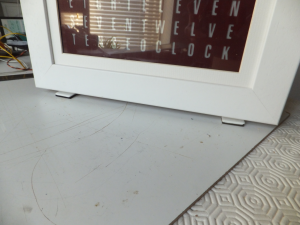
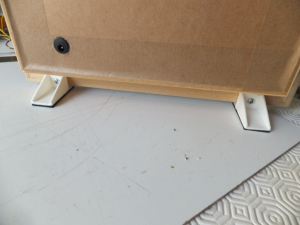
Pretty smart, if I say so myself.



Recent Comments